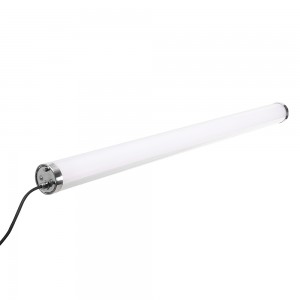
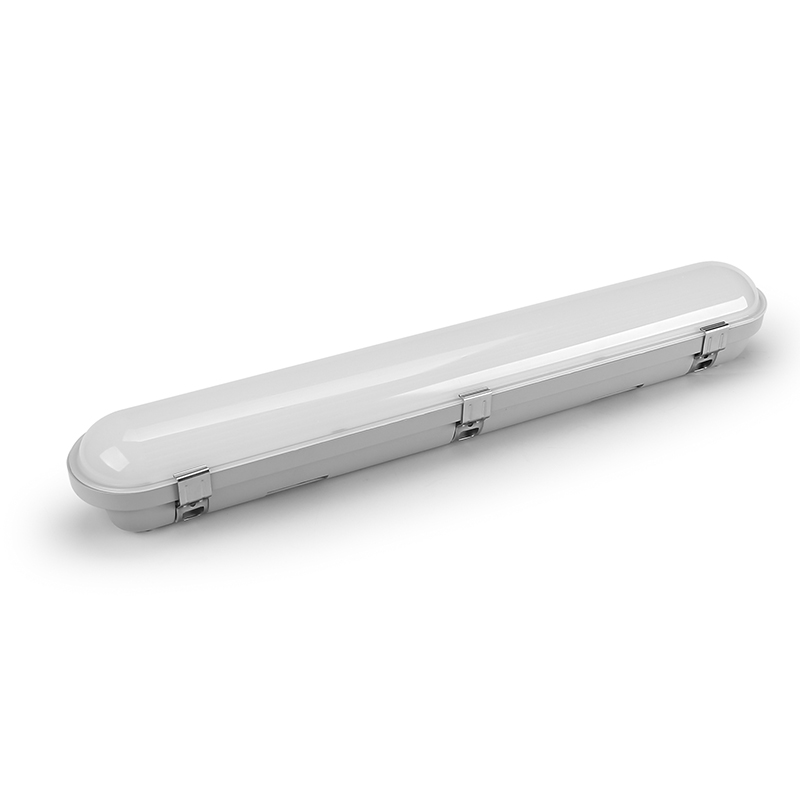
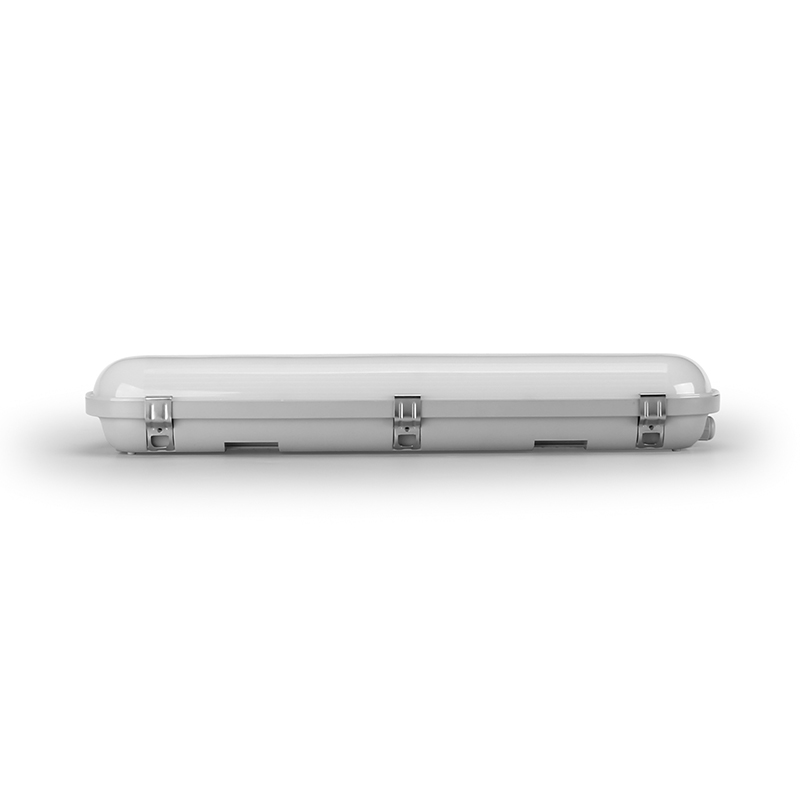
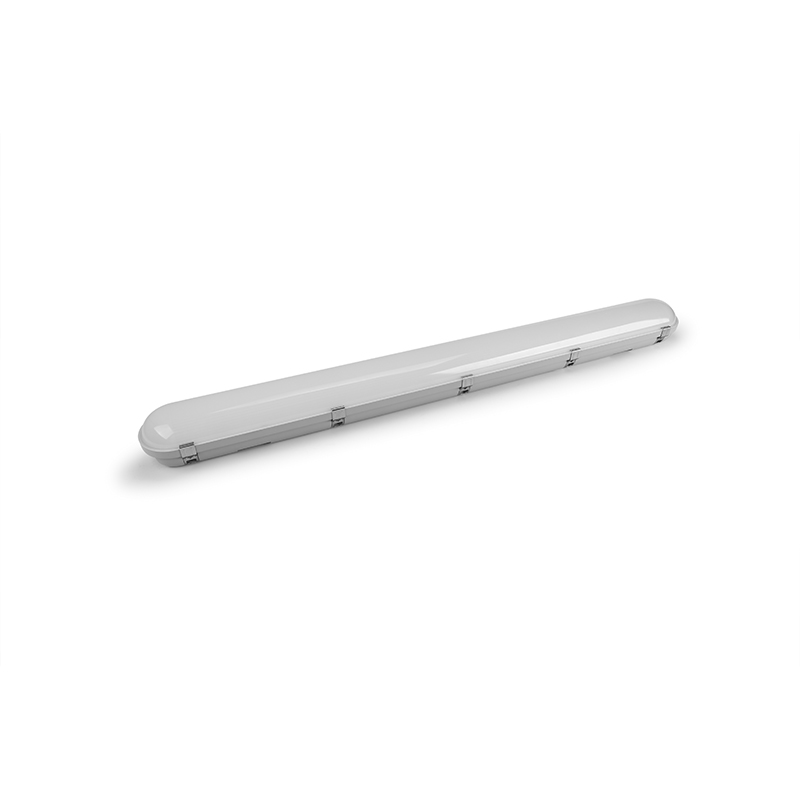
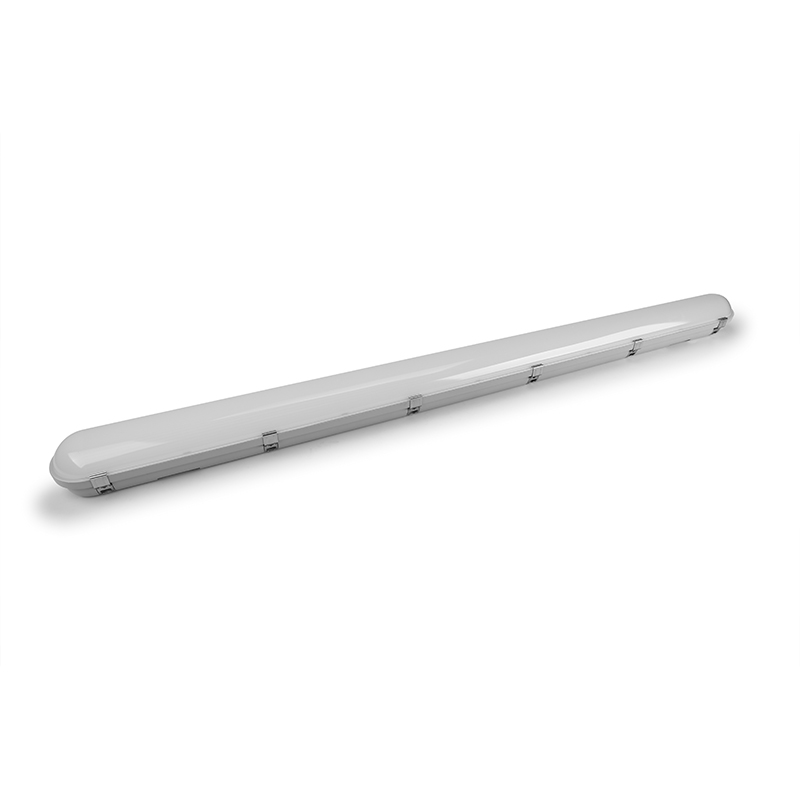
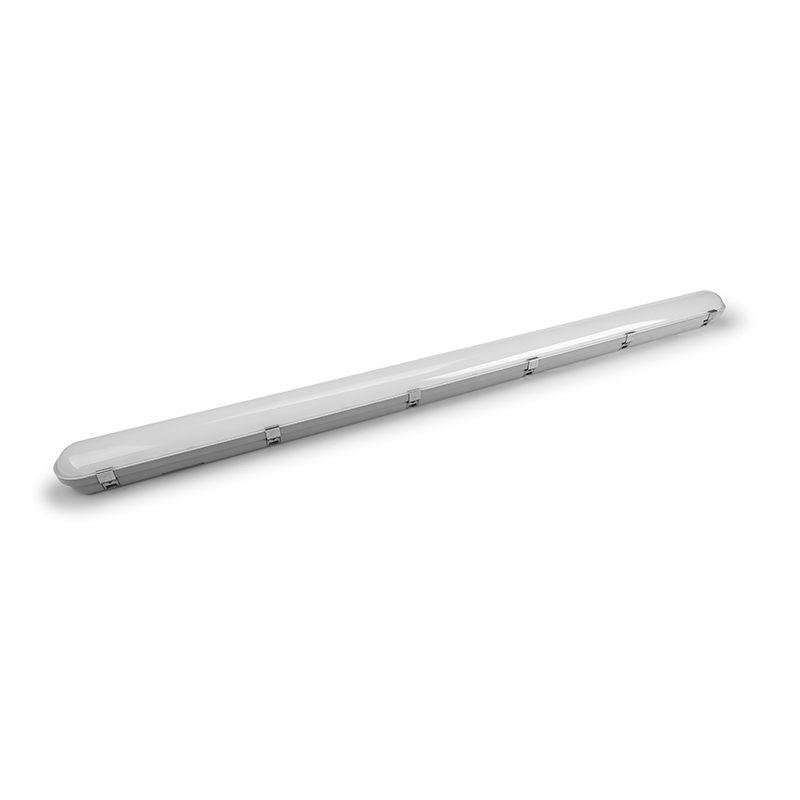
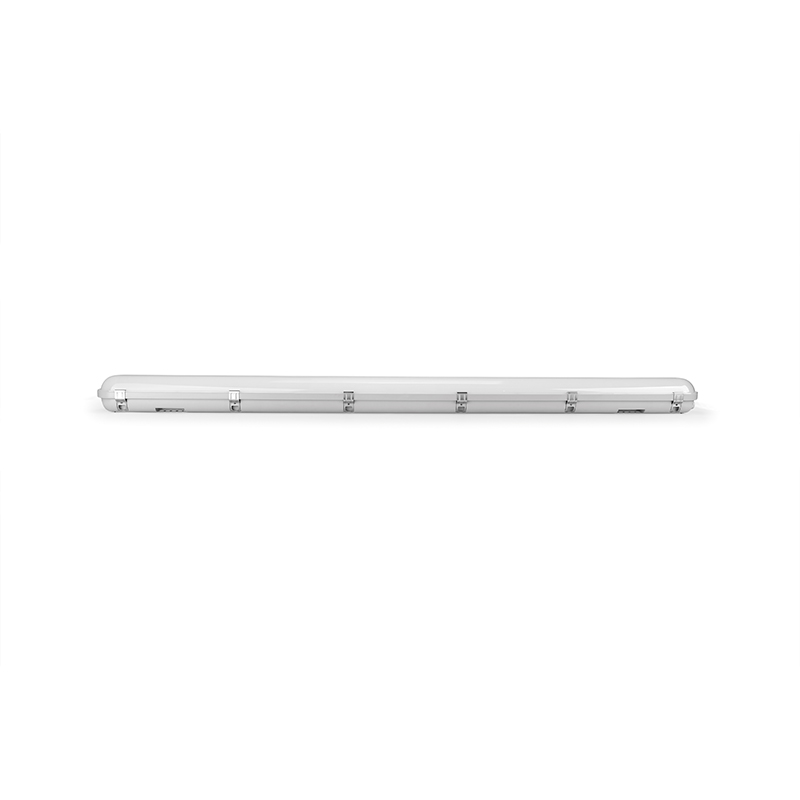
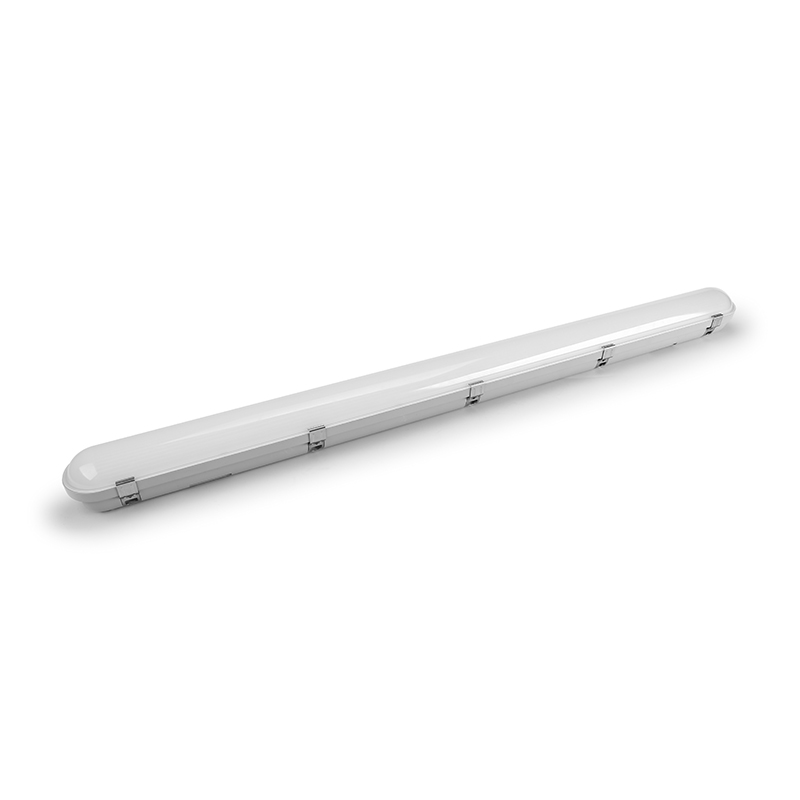
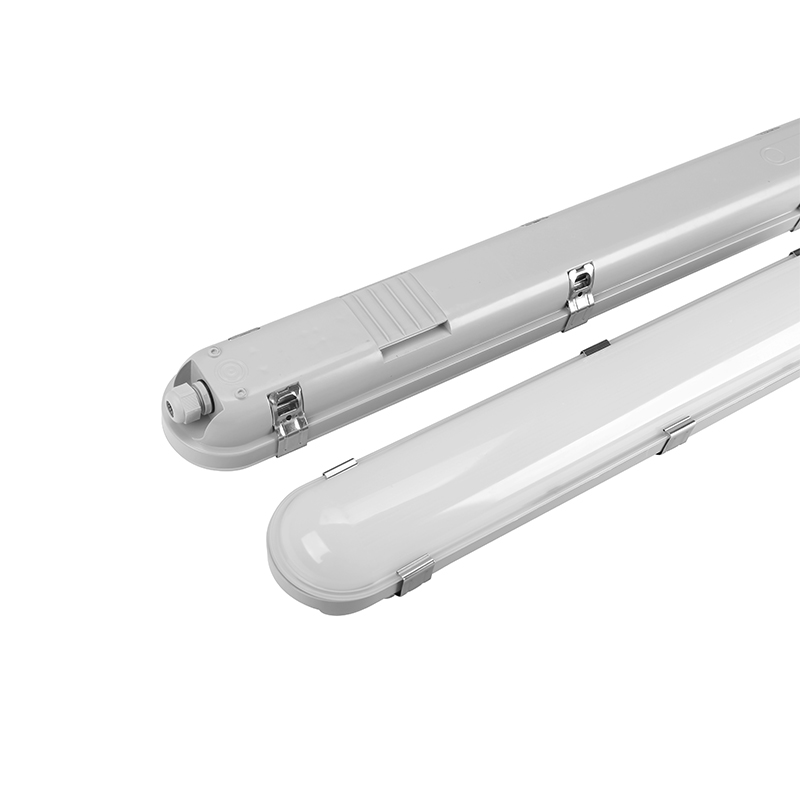
Hunk Series LED Tri-proof fixture


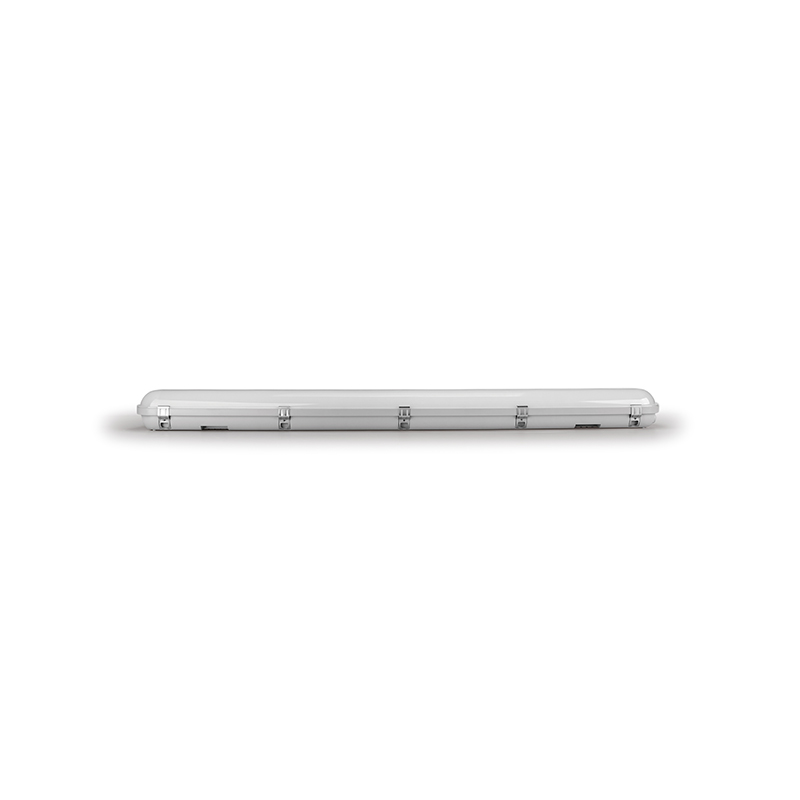
- Luminous Efficiency:100~140LM/W for option
- LED Type:High lumen efficacy SMD2835 led chips
- Color Temperature:3000K 4000K 5000K 6000K
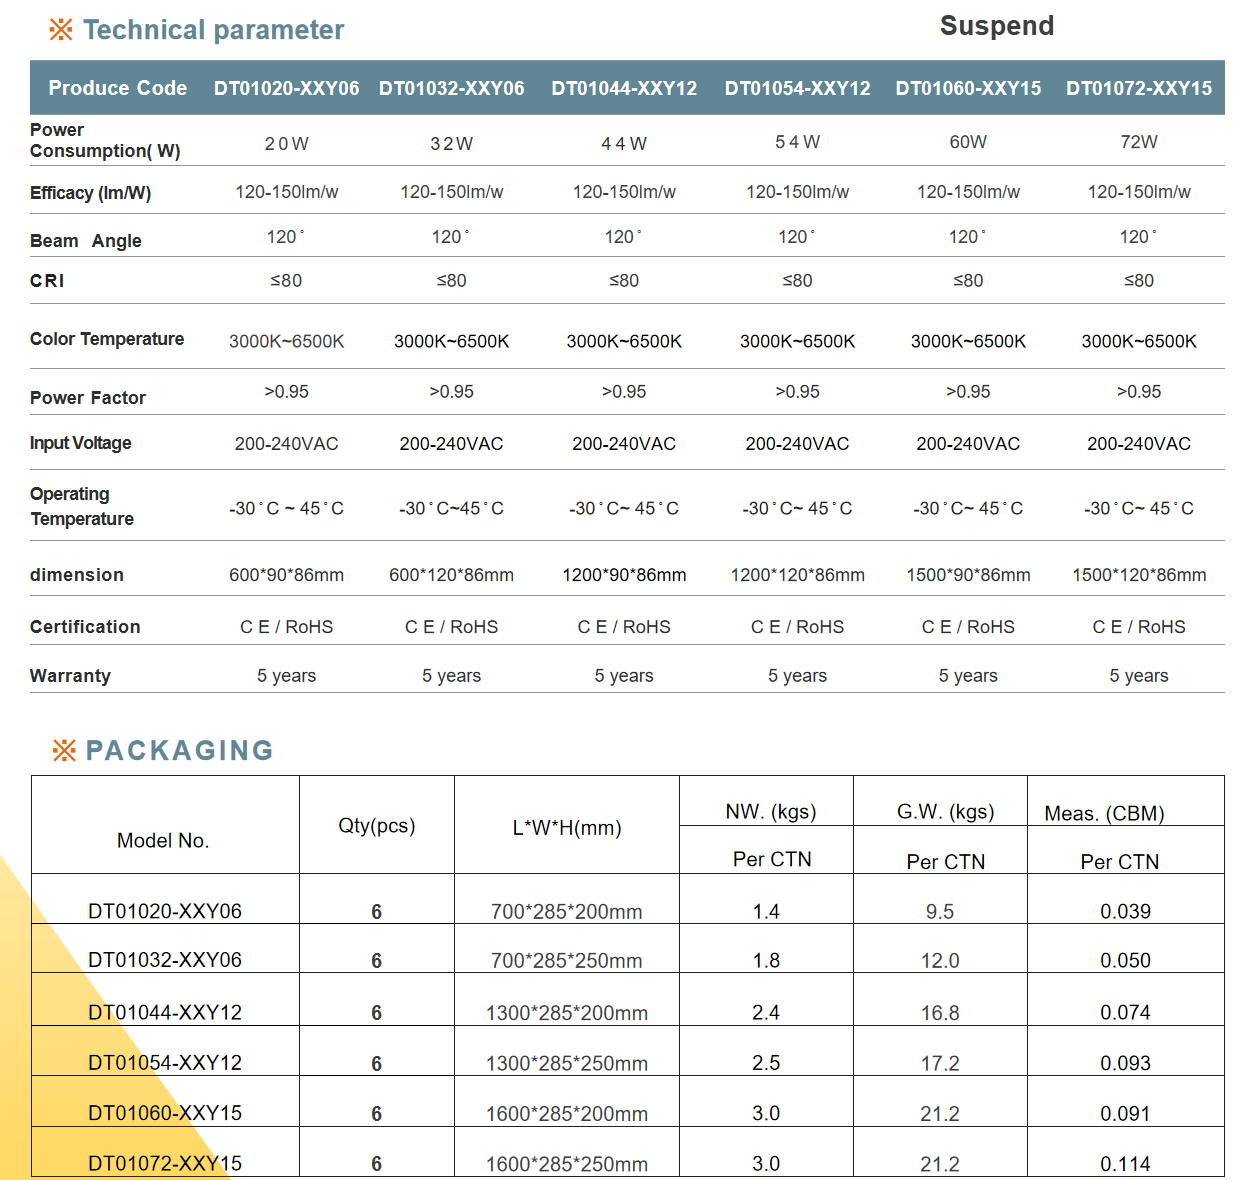
- Power: 20W 30W 40W 50w 60W
- Beam Angle:180°
- LED Driver:90% efficiency,flicker free,THD<15
- CRI:80Ra
- LED Driver Output: AC200-240V
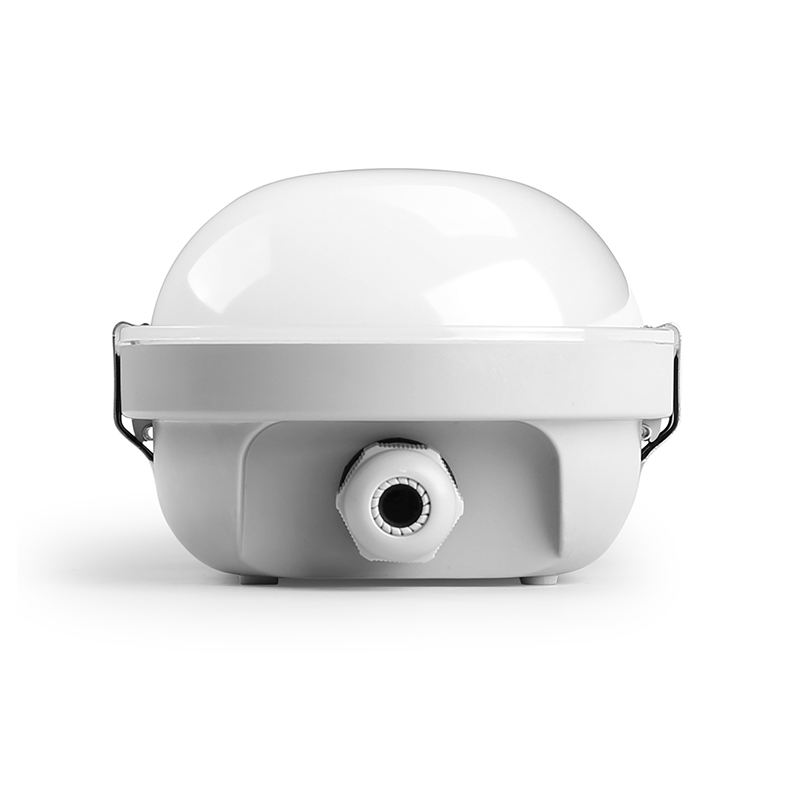
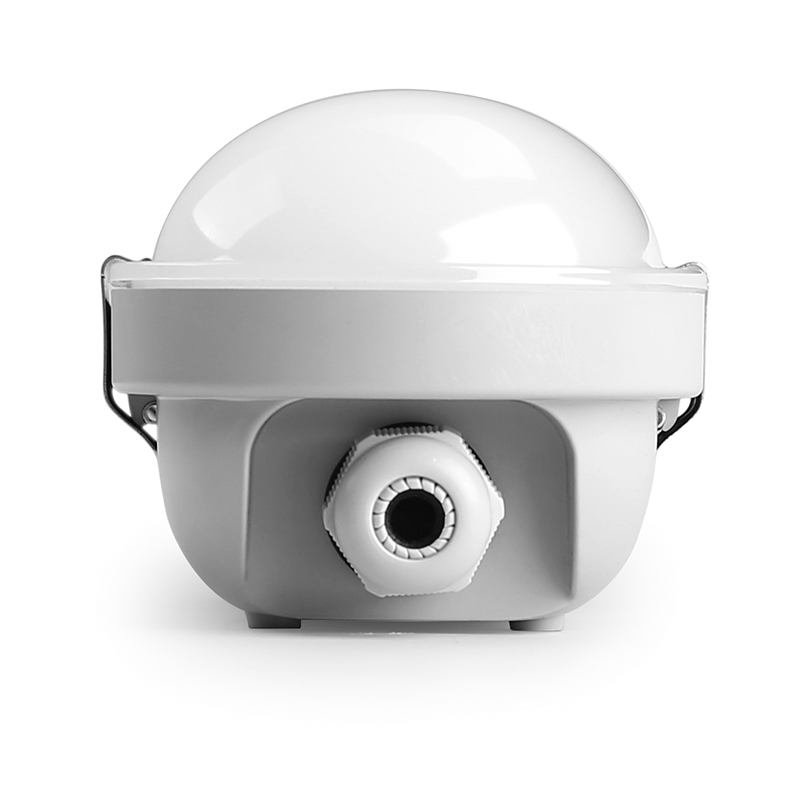
- Certification: CE RoHS IP67 IK10 standard
- Working Temperature:-40~55℃
- Luminous efficiency up to 150 lm/W
- Colour rendeing index Ra80
- Symmetrical light distribution
- LED rated life 50,000H (L80,B10)
- Replacement for fluorescent lamps
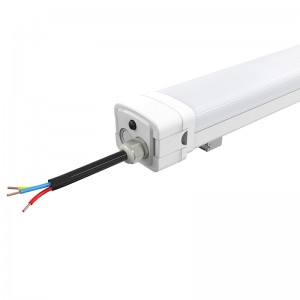
· Make sure that the supply voltage corresponds to the rated product voltage(200-240VAC).
· If the product is damaged, do not use it.
· All wiring connections should be capped with IEC approved wire connectors.
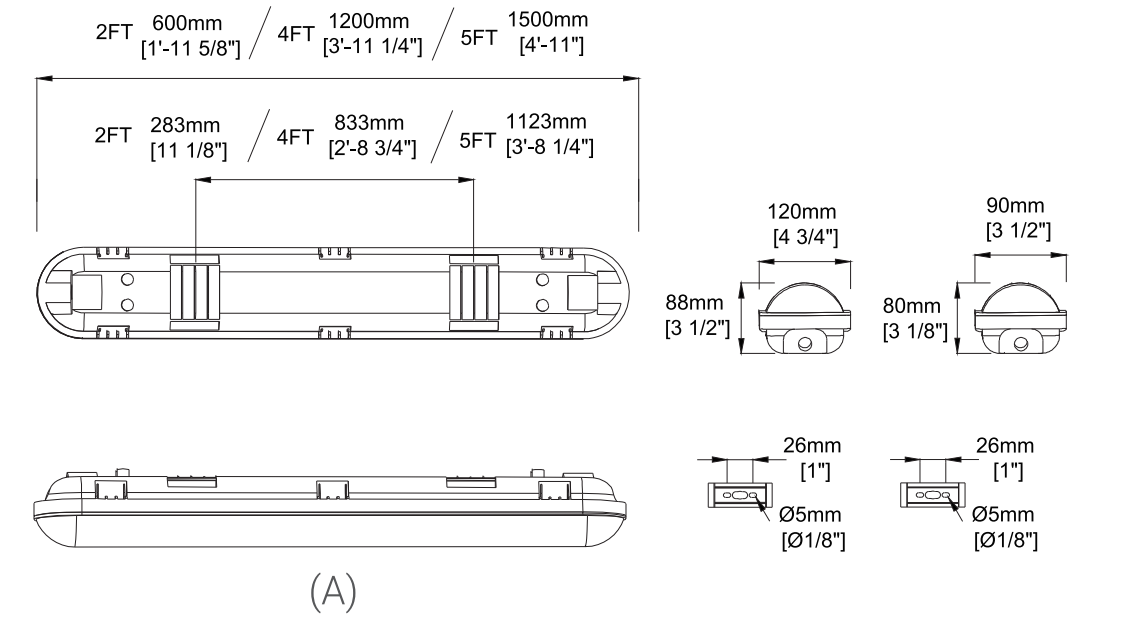
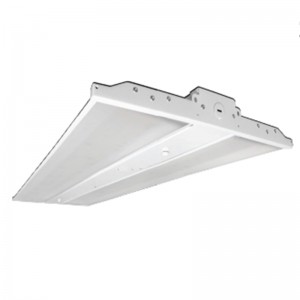
· For ceiling or suspended mount there are two stainless steel surface brackets included.
· This fixture is intended to be connected to a properly nstalled and grounded UL listed junction box with uitable strain relief means for power cord. The junction box is not included, should be purchased separately.

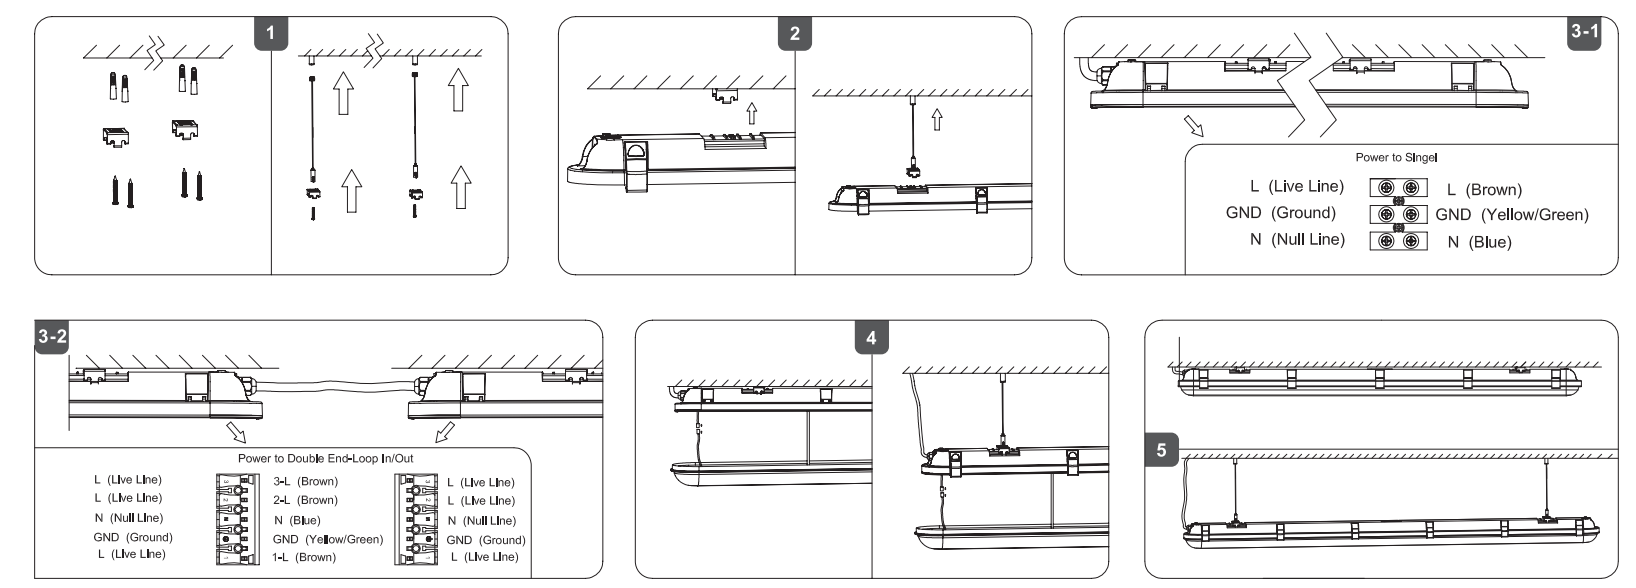
1.Identify installation location & check for any passing wiring/piping prior drilling and installing cables. Fix the mounting brackets / suspension kits on the ceiling at correct spacing as per dimensions.(Pic.A)
2.Position and fix base using the pre-fixed mounting brackets / suspension kits.
3-1.Individually power option.
3-2.Multiple(Loop in/out) power option.
4. Connect male/female DC connectors and fix the safety strap to the light body.
5. Check all connections are sound and properly insulated. Re-fit the light body to the base and secure all the clips.